Showing posts with label Glen Arbor Project. Show all posts

Friday, June 30, 2017

Powder + Guest Bathroom Design- Glen Arbor

I decided to pop in quick again this week to share the powder + guest bath design for our Glen Arbor project. This bathroom is a two for one deal in the sense that the powder bath and guest bath are adjoining but are separated by a door. You can access the powder bath, which has a small vanity and toilet, from the back hallway off the kitchen. Inside the powder bath there is another door that leads into the guest bathroom, which has a larger vanity with storage space and a shower. This half of the bathroom also has direct access to the guest bedroom at the back of the house. Basically, the homeowners wanted an ensuite for their guests but only have overnight guests occasionally, so this was a way for them to have the necessary first floor powder bath while still providing a private space for those times they do have guests staying at their house. Here's an old picture that I took while standing in the powder bath side looking towards the guest bath side, which should give you a better understanding of the two spaces. 

Now that I’ve made the layout clear as mud, let’s talk about the pretty stuff- the design! We could have easily taken the easy route and used matching mirrors and fixtures in these two bathrooms, but instead we decided to make the spaces feel cohesive rather than identical. We went a little more bold in the powder bathroom, which is honestly my favorite place in a home to use a high impact wallpaper or a unique chandelier (entryways are perfect for this, too). We chose to do both in this space! The owl and leaf motif of the wallpaper is whimsical, but the dominantly white background prevents it from feeling too overwhelming. The shaped brass mirror and beaded chandelier are just icing on the design cake.  


Throughout this home we designed a lot of unique bathroom vanities that have more of a furniture appearance. In the powder bathroom, the vanity is sort of a mini version of the master with the slatted shelf below. 

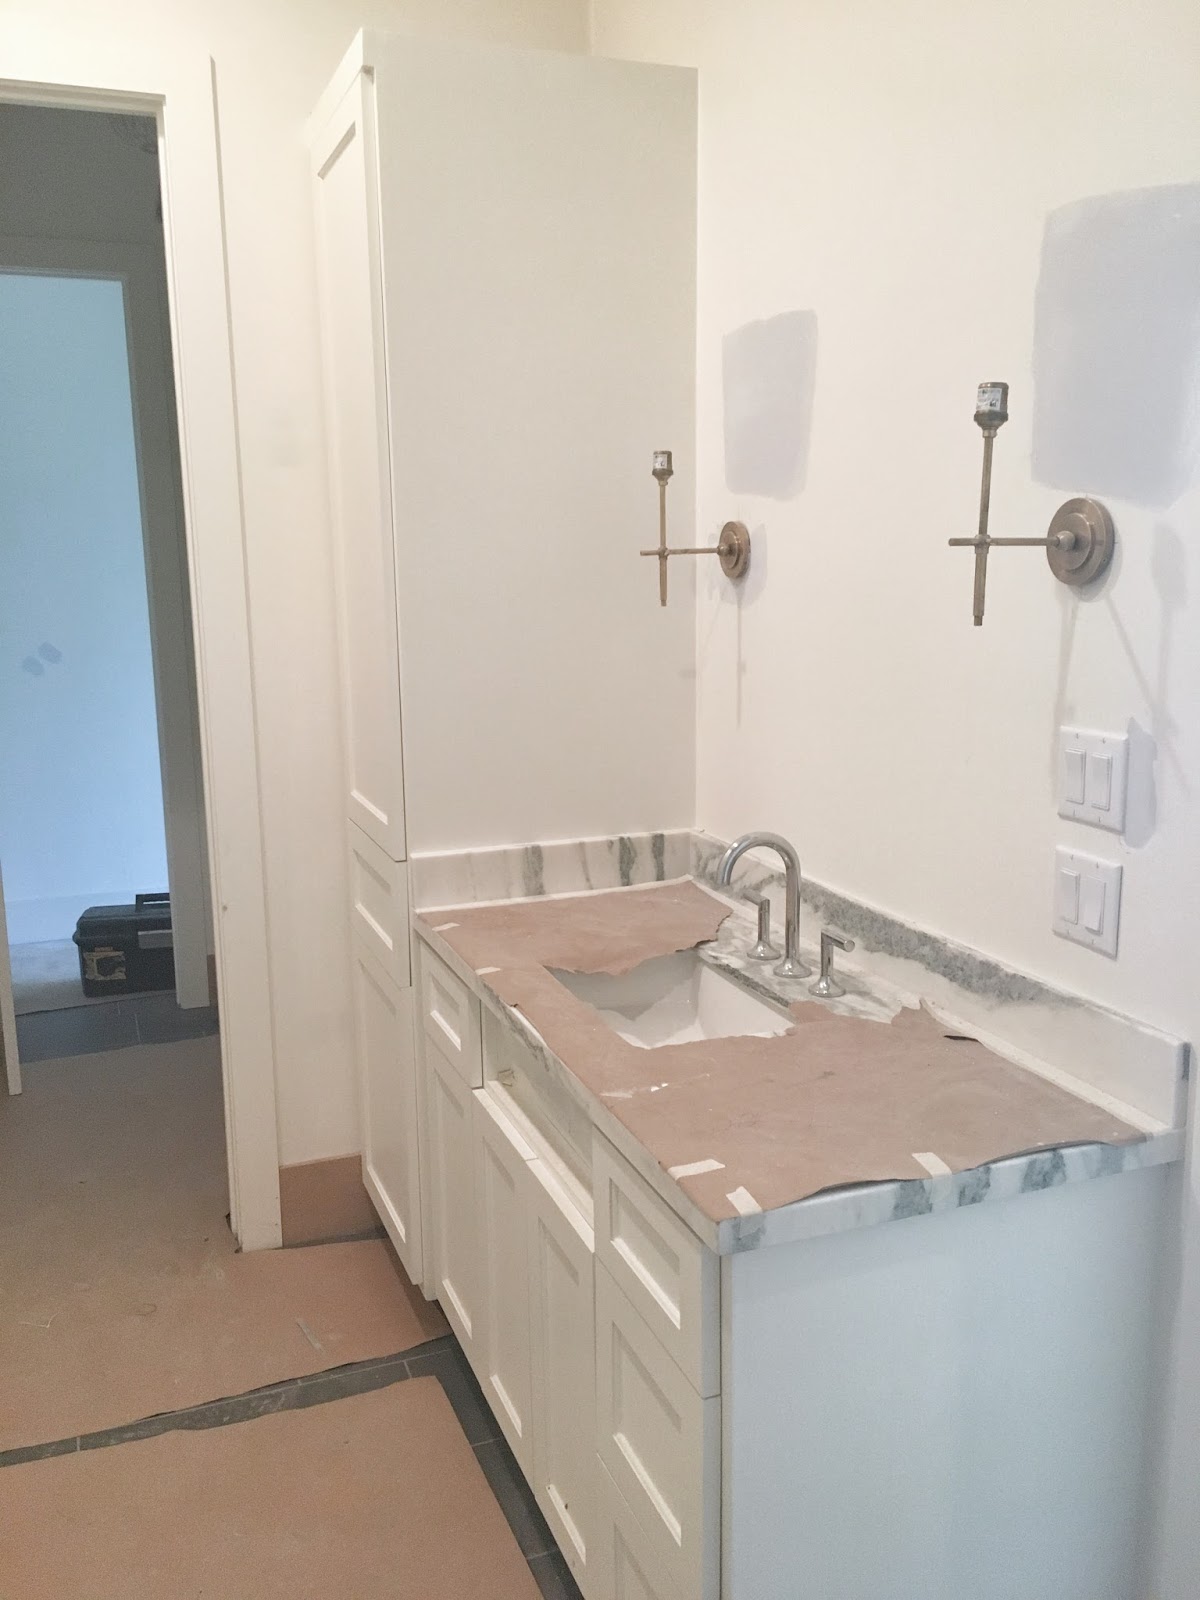
In the guest bathroom side we’ve selected similar features and fixtures, such as a mirror with brass accents, a white sink (under mount instead of vessel) and a faucet with a similar line to the powder bath faucet (deck mounted instead of wall mounted). We’ve used the same marble countertop and continuous flooring throughout both spaces. We found a gray penny tile for the shower floor that is similar in shade to the porcelain tile on the bathroom floor. And we went with a clean, white subway tile in a large format with a beveled edge for the shower walls, running all the way to the ceiling.


Here are a few pictures of the bathroom in its current state. In the first image the open doorway leads to the powder bath. The door to the guest bedroom would be to the right of the vanity (I'm standing in the shower). 


I absolutely love how these two spaces play off of each other, and I'm anxiously awaiting for all the pieces to come to fruition! 

Wednesday, June 21, 2017

Big Updates- Glen Arbor

How’s everyone’s week going? I sat down to write my post today, a Trending Tuesday post, and was starting to edit it when I realized today is Wednesday! Guess I missed the boat on that one! Ha!! On the bright side, I’m all set for next week now.

Sooooo instead of Trending Tuesday, I present to you Winging it Wednesday… fingers crossed this doesn't become a weekly occurrence over here! Since I am winging it on this post today I'll keep it short and sweet. I checked in at the Glen Arbor project at the beginning of the week and was blown away by what had all changed in just a few days. The driveway and sidewalk pads have been poured, the last of the countertops were being installed, and quite a few of the light fixtures have been hung. Every time it feels more and more like a home, and I just love being a part of this transformation. I cannot wait for the family to get to enjoy this space.

The very first thing that caught my attention were the pendant lights over the island- dying!!! They're still covered in plastic, but the brass band around the clear globes perfectly compliments the modern chandelier in the dining room. And how about that reclaimed wood beam?!? I love how a rustic accent instantly adds character and soul to a new home. You may have also noticed that the herringbone subway backsplash is starting to be installed, too.
Modern Farmhouse Kitchen Updates

Reclaimed wood shelves will be flanking the window that is over the kitchen sink, and the shiplap range hood will also have a wood strip on the bottom to help break up the white along the back kitchen wall. 
Modern Farmhouse Kitchen Updates

Modern Farmhouse Kitchen Updates

Modern Farmhouse Kitchen Updates

These next few pictures were taken while the kitchen countertops were still being installed and before the backsplash tile started to go up, but you can at least see how the soapstone and marble play off each other. The veining in the marble on the island is gorgeous. Unfortunately they have to cover these beauties back up until the project is finished so no more seeing them until the end. 
Modern Farmhouse Kitchen Updates

Modern Farmhouse Kitchen Updates

Modern Farmhouse Kitchen Updates

The large bent-arm sconces look fabulous over the fireplace built-ins. Anxiously awaiting for the reclaimed wood mantle and floating shelves to be installed, which will help make the light gray plaster on the fireplace standout more. It's hard to see in these dark iPhone pictures, but the herringbone pattern from the backsplash is also repeated in the firebox. While it's a subtle design choice, all those small things add up to a home that flows seamlessly throughout. 
Modern Farmhouse Kitchen Updates

As promised, I'm keeping it brief today. I'm planning to share the design plan for the joint powder and guest bath along with the progress pictures for those two spaces next week. Although, if Houston's weather gets crazy with Tropical Storm Cindy and I'm not able to get around to all of my appointments tomorrow, you just may luck out and get two posts this week!!! Now that would be crazy.... 
SaveSave

Wednesday, June 7, 2017

Paint + Tile- Glen Arbor

Big construction update today, guys (I only promised it about 3.5 weeks ago, so this seems like a good time- ha!). We are down to the final six weeks or so at Glen Arbor and it is all hands on deck to wrap this project up on time. The interior walls and woodwork have been primed and the final coats of color are being painted. We’ve only hit one little snag with color application, but we’re working on fixing that today. Speaking of snags, it’s not always fun to talk about issues that come up on jobsites, which are bound to happen, but I also don’t want to pretend like every project always runs according to plan and there are no last minute adjustments. While hiring a professional (like me!) definitely helps to cut down on the problems, or at the very least reduces the stress of the homeowner, it’s still inevitable that some issues will arise during any given project. A little off topic with that, but it’s important to mention because I never want it to seem like I’m only putting out the pretty side of construction, renovation and design.  

Enough of the Debbie Downer talk, let’s get to the good stuff- the pictures... starting with the kitchen!!! The soft white walls and the little brighter white on the cabinetry are offset with the prettiest shade of gray on the island for just the right amount of contrast. If you remember the kitchen plan, we selected a gorgeous slab of marble for the island and soapstone for the perimeter countertops- both will be stunning against this backdrop. 


Bringing in the modern farmhouse vibe are the shiplap accents in the entry and on the wall going up the stairs, which will be where the dining room table will go. 


Moving upstairs all three kids' rooms have been painted. Shades of gray for the first two bedrooms, which are connected with a Jack and Jill bathroom. Gray subway tile will be going up in the shower soon, which will compliment the hexagon and gray dot tile floor that's being finished up. Although it doesn't show well in the picture below, the soft turquoise on the vanity will create a little pop against all the gray and white of this space. 


The back bedroom has been painted a lovely shade of peach and will have an accent wall in one of my favorite wallpapers- Thibaut Tanzania in black and cream. I love the youthful feel of the wallpaper and it will nicely tie together with the black windows (you can see a little glimpse on the far right window), the black chandelier, and of course the adjoining bathroom which has the coolest mix of black and white. 


The master bathroom is also seeing lots of progress in the tile department. The large format subway tile is up in the shower and the fabulous gray hex floor has been laid. This is one of my favorite features and I cannot wait to see how the white oak vanity looks in this space; it's going to be great!!! This also leads us to the little color snag that I mentioned earlier. The color on the shiplap is sort of throwing us off against the bright white subway tile. However, the color on the built-in cabinet to the right of the tub seems to work well with it. Going to the job site this morning to figure out what happened since these are supposed to be the same color. Should be an easy fix. 


And a quick glimpse of the back of the house- how great are all those windows?! The brick still needs to be painted white, but the ceiling of the porch is getting a quick coat of a grayish-blue color, a modern take on the Southern tradition of painting your porch ceiling turquoise. The outdoor kitchen won't be far behind now. I have to be honest, the progress is happening faster than I can share it, but I'll do my best to keep you up to speed. I have so many new projects to share as well, including an out of state renovation that is wrapping. Lots of fun things coming up, but in the meantime I'm off to my first appointment. Hope you all have a great day!


Monday, May 15, 2017

Modern Farmhouse Kitchen- Glen Arbor Project

After a few jam-packed weeks in a row, I finally had a low-key weekend that has left me feeling refreshed and ready to take on the days ahead!! The Glen Arbor project is hopping right now and the last few decisions that need to be made are coming in like rapid fire. The woodwork is being primed, which means interior paint selections need to be finalized, and we just finished marking the specifics on tile placement and direction. I'm hoping to do a big construction round up at the end of the week, but first wanted to share the kitchen plan. I apologize in advance for the lengthy post but there are so many fantastic details going into this space that I couldn't leave anything out. 

From the very beginning, the one thing the homeowner knew she wanted was soapstone for the perimeter of her kitchen counters, so this ended up being the jumping off point for the kitchen design. To coordinate with this we selected a gorgeous marble for the island. While we looked for an alternative to marble in order to have less upkeep, this combination couldn't be beat. Both stones play off of each other beautifully, and honestly, neither takes away from the other, which is not easy to do when mixing stones within one space. My client is choosing to not oil her soapstone, at least not at first, to preserve the gray tone. Over time, if she wants a new look or is finding that she has lot of discoloration she can always have the counters oiled which will then turn the soapstone to a darker, almost black finish.
modern farmhouse kitchen- Wild Rose Interiors

modern farmhouse kitchen- Wild Rose Interiors
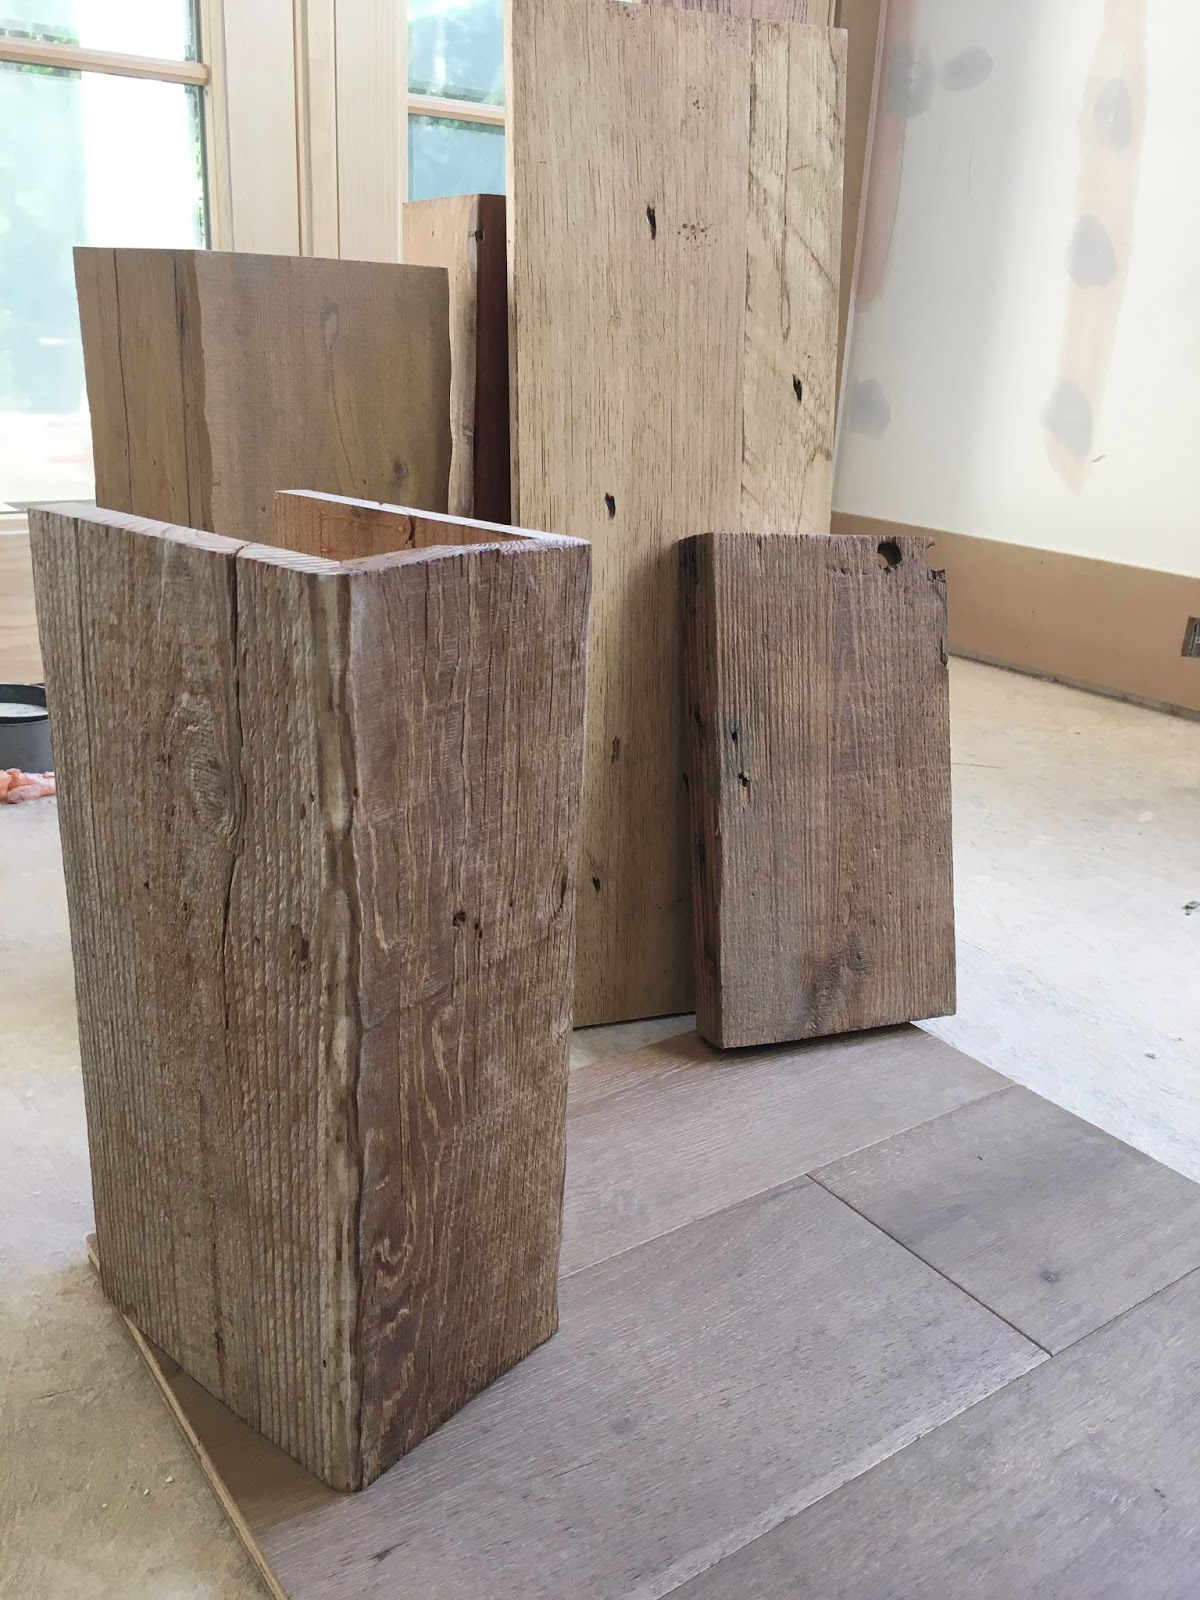
The kitchen is open concept to the dining and living room (all rooms are in a row), so we wanted to make sure the lighting plan was cohesive throughout all three spaces. The first light we selected was for the living room, which has a massive two story fireplace and windows. We knew we needed to find a light that wouldn't get lost in the space, but also stayed true to the simple, modern farmhouse feel. The large 60" round chandelier was the perfect choice. The wood ties in nicely with the fireplace mantle, dining room beam, and floating shelves in the kitchen (all will be made from the rustic, reclaimed wood shown below). We used the subtle brass accents on the chandelier as our inspiration for the remainder of the lighting. 
modern farmhouse kitchen- Wild Rose Interiors

modern farmhouse kitchen- Wild Rose Interiors
In the dining room the ceiling height is lower, although I use this term loosely as they are still 10'0", so we didn't need nearly as large of a chandelier. We also didn't want a fixture that was too visually heavy since this in the center line of vision from the kitchen to the living room. We found this fabulous brass candlelight-style fixture that has an open feeling and is the correct scale for the homeowners' existing dining table. 
modern farmhouse kitchen- Wild Rose Interiors
Sticking with an antique brass finish, we selected swing arm sconces for the fireplace wall built-ins and glass globes with a brass accent for the kitchen island. 
modern farmhouse kitchen- Wild Rose Interiors

modern farmhouse kitchen- Wild Rose Interiors
The walls are going to be painted one of my favorite shades of soft white and the cabinets will be a slightly brighter white to create a little contrast. To make the island stand out, we're using a light gray that looks beautiful with the marble countertop and the European White Oak floors. While I love a pop of color, there is something so magical about a beautifully muted space that is filled with texture, pattern, sheen, and gorgeous details. Can't wait to see this kitchen come together in the end. 

Glen Arbor Kitchen Plan
modern farmhouse kitchen- Wild Rose Interiors

Tuesday, April 25, 2017

Bathroom- Glen Arbor

How was everyone’s weekend? The weather was absolutely perfect in Houston so we took full advantage of it by opening our windows (a rarity in these parts) and partaking in about as much patio dining as humanly possible. Our days are numbered before the heat, humidity, and mosquitoes ban us to the indoors and full-blast AC.

For the past couple of weeks I have been sharing each of the bathroom plans for the Glen Arbor project. I shared the master bathroom here and last week I shared the Jack and Jill bathroom here. We discussed using a wallpaper on the ceiling of the daughter’s adjoining bedroom, but unfortunately after determining how many rolls we would need, the price just was too high to justify (womp, womp). BUT, we’re thinking of doing an accent wall and we found a great new option that I think is going to work beautifully with her headboard. More on that soon!!! Today, I have the bathroom of the oldest daughter and it is retro glam at its best!!

The initial jumping off point for this bathroom was the request for a patterned tile floor. After sourcing several different options, the homewowner settled on a retro pattern with a slightly feminine feel. I love that it has black, white and gray, offering an extra layer of color and pattern. 
Retro modern bathroom- Wild Rose Interiors
Patterned floor tile
Complimenting, but not taking away from the floor tile, we chose a classic white subway tile with a black accent band for the bathroom and shower walls. The shower floor will be a small black hex tile. 
Tile walls will be similar to this
Cute little hex tile for the shower floor
Playing up the retro, mod vibe we selected a round metal mirror and two hanging sconces with white glass and a honeycomb texture. The vanity will be black or dark charcoal gray, topped with a white quartz and accented with crystal hardware for a little extra glam. The sink, faucet, and shower fixtures are the exact same as the Jack and Jill bathroom and are simple and clean choices.
Black metal mirror
Love the texture on these sconces 
Retro modern bathroom- Wild Rose Interiors

We’re working on finalizing the details for the adjoining bedroom, but we already have ordered a black and crystal chandelier that coordinates with the bathroom plan. We’re narrowing in on a wallpaper accent wall and a soft peach color for the walls, which always looks fresh against a dominantly black and white color scheme. Looking forward to sharing more of those details soon!!!
What girl wouldn't love this glitzy chandelier in their room?!
There is one bathroom left- the powder bath and adjoining guest bathroom, and then I’ll be sharing a few construction updates and discussing the design details for the kitchen and dining room. This home really is going to have a beautiful flow throughout it and I’m excited to keep sharing bits and pieces as they get finalized.

Friday, April 7, 2017

Master Bathroom- Glen Arbor

How is it possible that we are already through the first week of April?!? I feel like the year is already slipping through my fingers and it’s showing no signs of slowing any time soon. I wanted to post a quick update on the modern farmhouse that I shared last time, which was sadly about a month ago. Construction is moving along and we’re nearing the final few months of the project, which is so exciting. I love this time when all of the design decisions are being finalized and you start to see them come to life. I’m going to be doing a series of mini posts on the plan for each of the bathrooms, starting with the master.

This is the general plan for the master bathroom, and I could not love it more. It feels fresh and modern and flows together beautifully, yet it doesn’t feel overly designed. It’s really going to be a fantastic space.

Modern farmhouse bathroom- Wild Rose Interiors
Master Bath Design Plan 
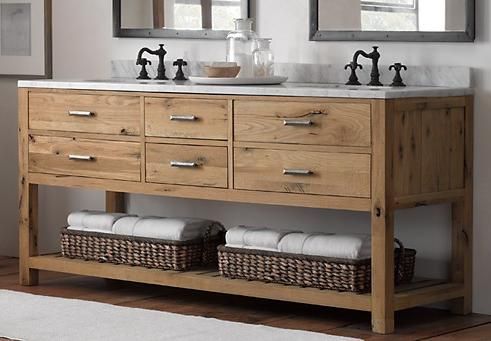
The bathroom vanity is very long and rather than having a solid built-in piece, we wanted it to feel like a piece of furniture. It will have an open shelf underneath with rows of large drawers for concealed storage. As of right now it will be made from white oak and will be topped with a Silver Honed Carrara Marble countertop. The two undermount sinks will have silver beaded mirrors hung above, which will be flanked with three glass sphere pendants.

Modern farmhouse bathroom- Wild Rose Interiors
Vanity will be similar in style but longer

Close up of mirrors
Light fixtures
Aside from the bathroom vanity there will also be additional storage added on the backside of the tub. We’re creating a false wall that will have a pullout hamper and open shelves on the end caps and glass shelves facing the tub. 
Similar setup for the storage behind the tub.
The upper half will be open shelves rather than a cabinet
The closed wall along the tub will be 
glass shelves with shiplap behind them
Above the tub will be that fabulous brass and Capiz light fixture. The tub surround and shower walls will be a 6 x 18” white subway tile. The shower floor will be a 3” hex tile that coordinates with the 6” hex tile on the rest of the bathroom floor.
Shower floor tile
Bathroom floor tile
Capiz light fixture for above the bathtub 
That's the breakdown of the master bath so far. I'll be sure to share more of the construction progress once the vanity is installed and give you a few style updates once we have selected hardware for the vanity. We're also searching for the perfect vintage-style rug to complete the look. Next week I'll be back to share the two kids' bathrooms that are also upstairs, and after that we'll discuss the powder and guest bathroom and the kitchen- the slabs for the counters are stunning! I'm signing out for a long weekend in Scottsdale to celebrate my upcoming birthday. Looking forward to a short break from work, sunshine and poolside drinks with a few great friends. Hope ya'll have a great weekend!